Getting Started: Setting Up Your Account
This guide walks you through setting up your NotJustCars account for the first time — from completing your business profile to understanding your dashboard.
Step 1: Complete Your Business Profile
After registering, you'll be taken through a short onboarding wizard. Fill in your business name, phone number, and address. This information appears on your public booking page so clients know who they're booking with.
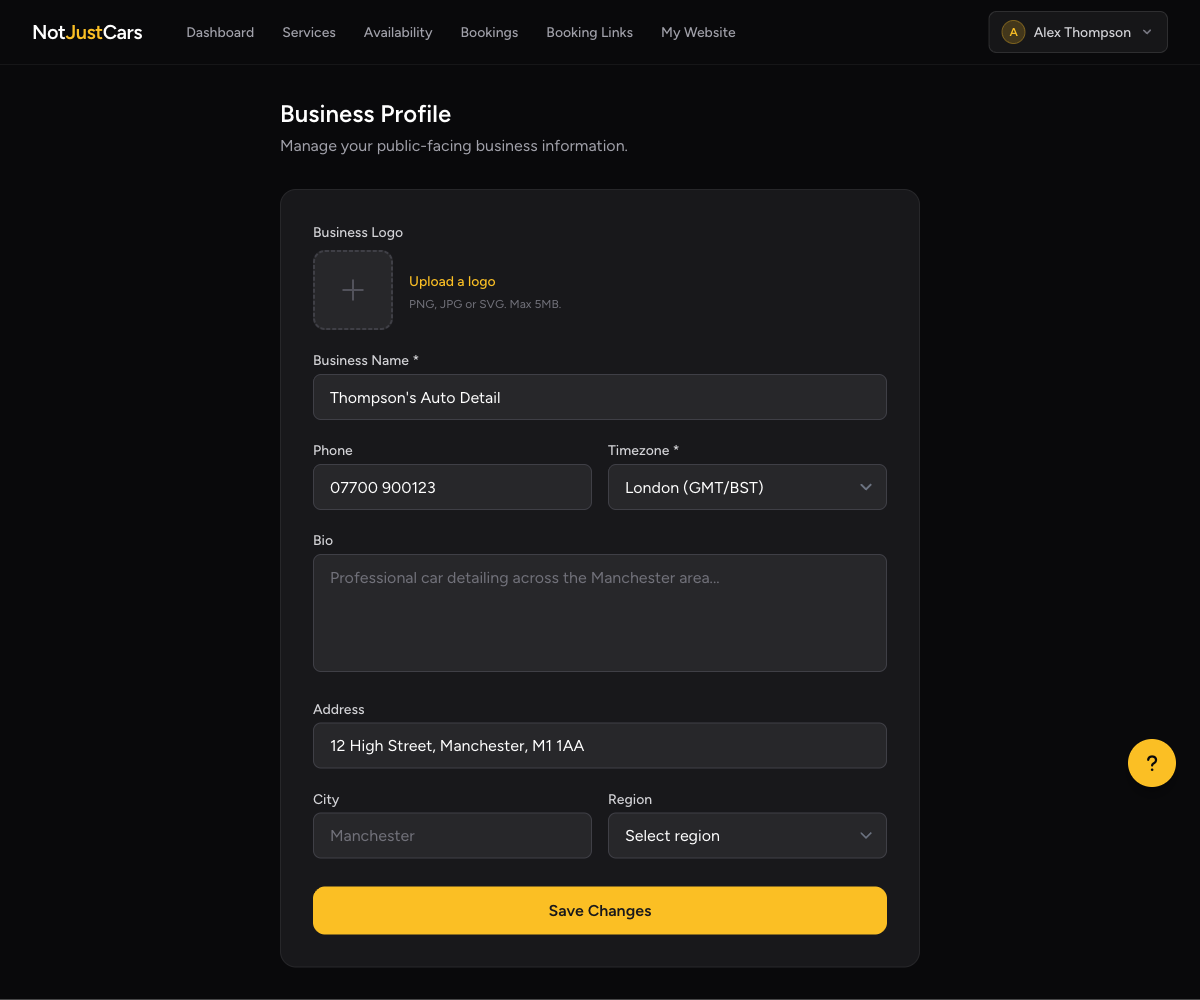
To update your profile later, click your name in the top-right corner and select Business Profile.
Step 2: Connect Stripe
The onboarding wizard will prompt you to connect your Stripe account. This is how clients pay you — see the Connecting Stripe guide for a full walkthrough.
Step 3: Add Your First Service
Go to Services in the navigation and click Add Service. Create at least one service so clients have something to book. See the Managing Services guide for more detail.
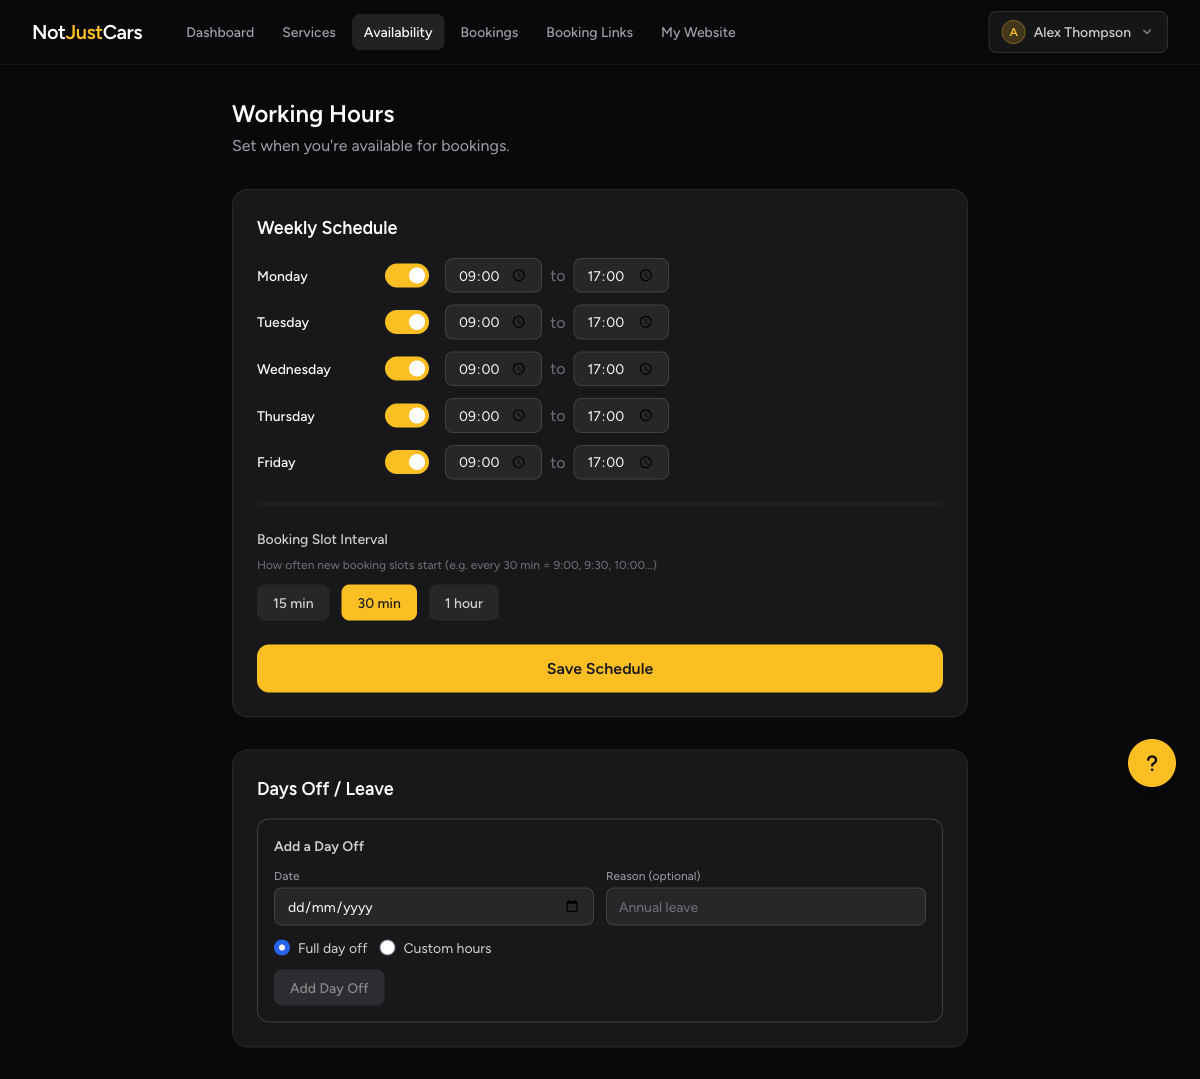
Step 4: Set Your Availability
Go to Availability and set the days and hours you work. Until you do this, clients won't see any available booking slots.
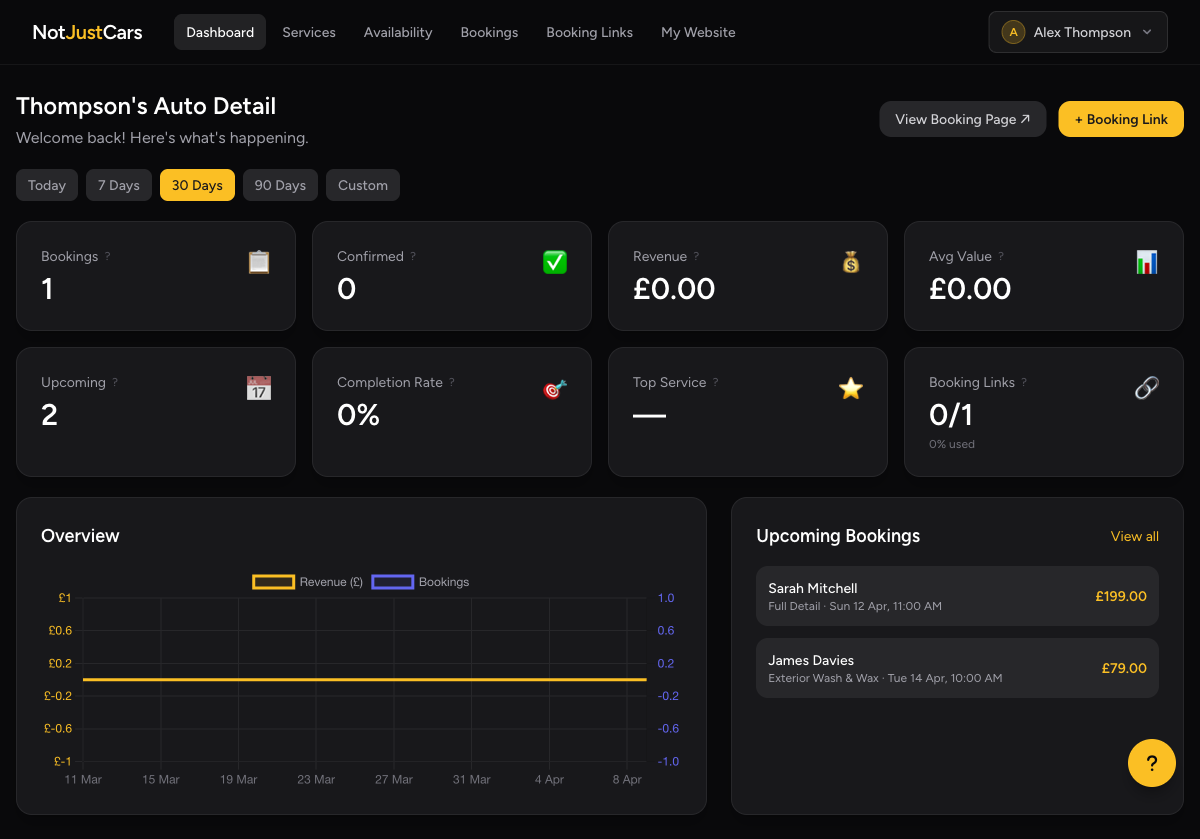
Step 5: Your Dashboard at a Glance
Once set up, your dashboard gives you a live view of your business:
- •Stats cards — total bookings, revenue, and completion rate for your selected date range
- •Upcoming bookings — your next 5 appointments
- •Revenue chart — bookings and earnings over time